The first roll of film I developed at home was originally shot in color using a brand I’ve long forgotten. I made the mistake of buying the newbie-friendly Paterson & Ilford Film Processing Kit in B&W to process my color photos, but I wasn’t about to exercise patience and not develop the film in front of me as I sat on the bathroom floor with all of my beakers, chemicals, and my darkroom bag ready to go.
It took over an hour to uncap my film and wind it around my development spool using the darkroom bag because it’s a totally blind process based on feeling and muscle memory alone. After much struggle I had my film safely wound around my spool and I bathed it in my developer, stop bath, and fixer chemicals. The instructions had me walking on a wire! I was down to recording 10-second increments to get the timing exactly right. It was a stressful and smelly process (these chemicals should not be directly inhaled).
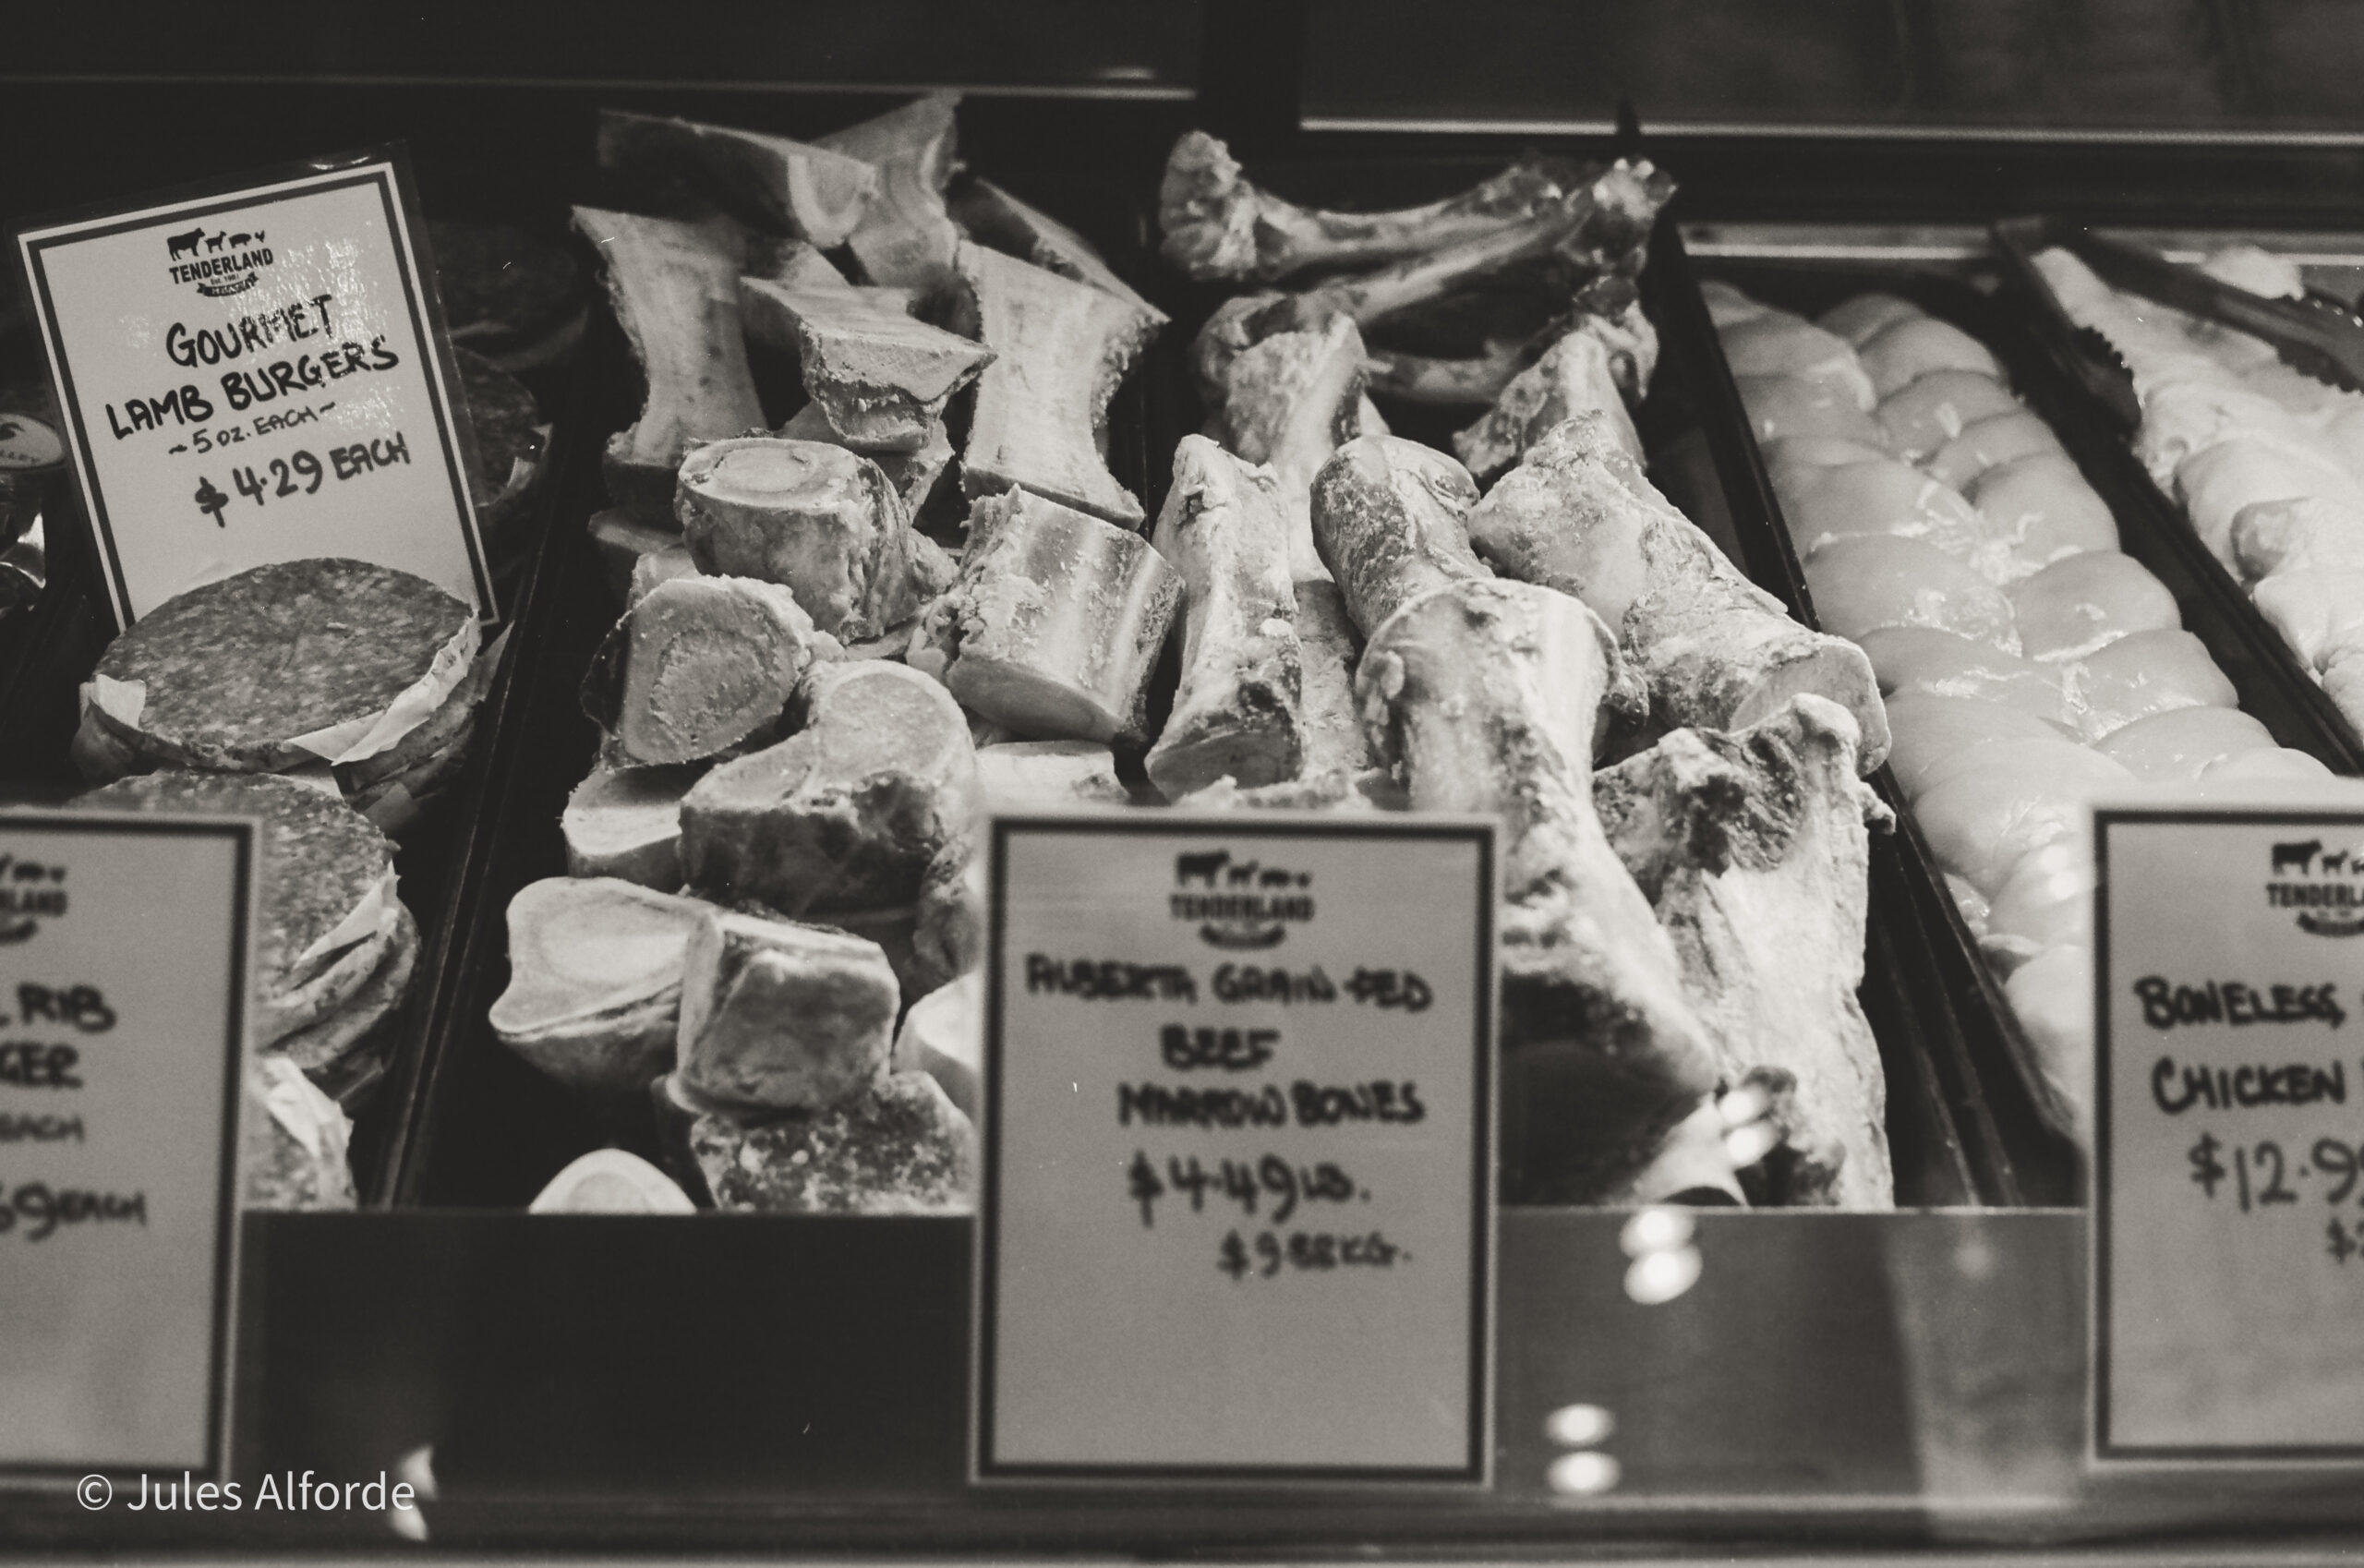
Finally I washed my film in water, cut a few strips, and strung them from my shower rod and waited. The next morning I scanned the negatives using a Kodak Slide N Scan that I had recently purchased and was pleasantly surprised with the results. I have since learned that developing B&W film is simpler and involves less dangerous chemicals than color film development, so I may have dodged a bullet. I did not use any special techniques (pushing, pulling, etc.) so the below results are what I got. Full disclaimer, about half of these photos were developed by me, and the rest were developed by a professional lab. The ones that say “scanner” are mine.
[Taken January – February 2023]


